And Friday to wire up as much of the rest of the car as we can manage in a day!
I have been in a charger build frenzy this week trying desperately to finish the charger so it is ready ASAP for testing.
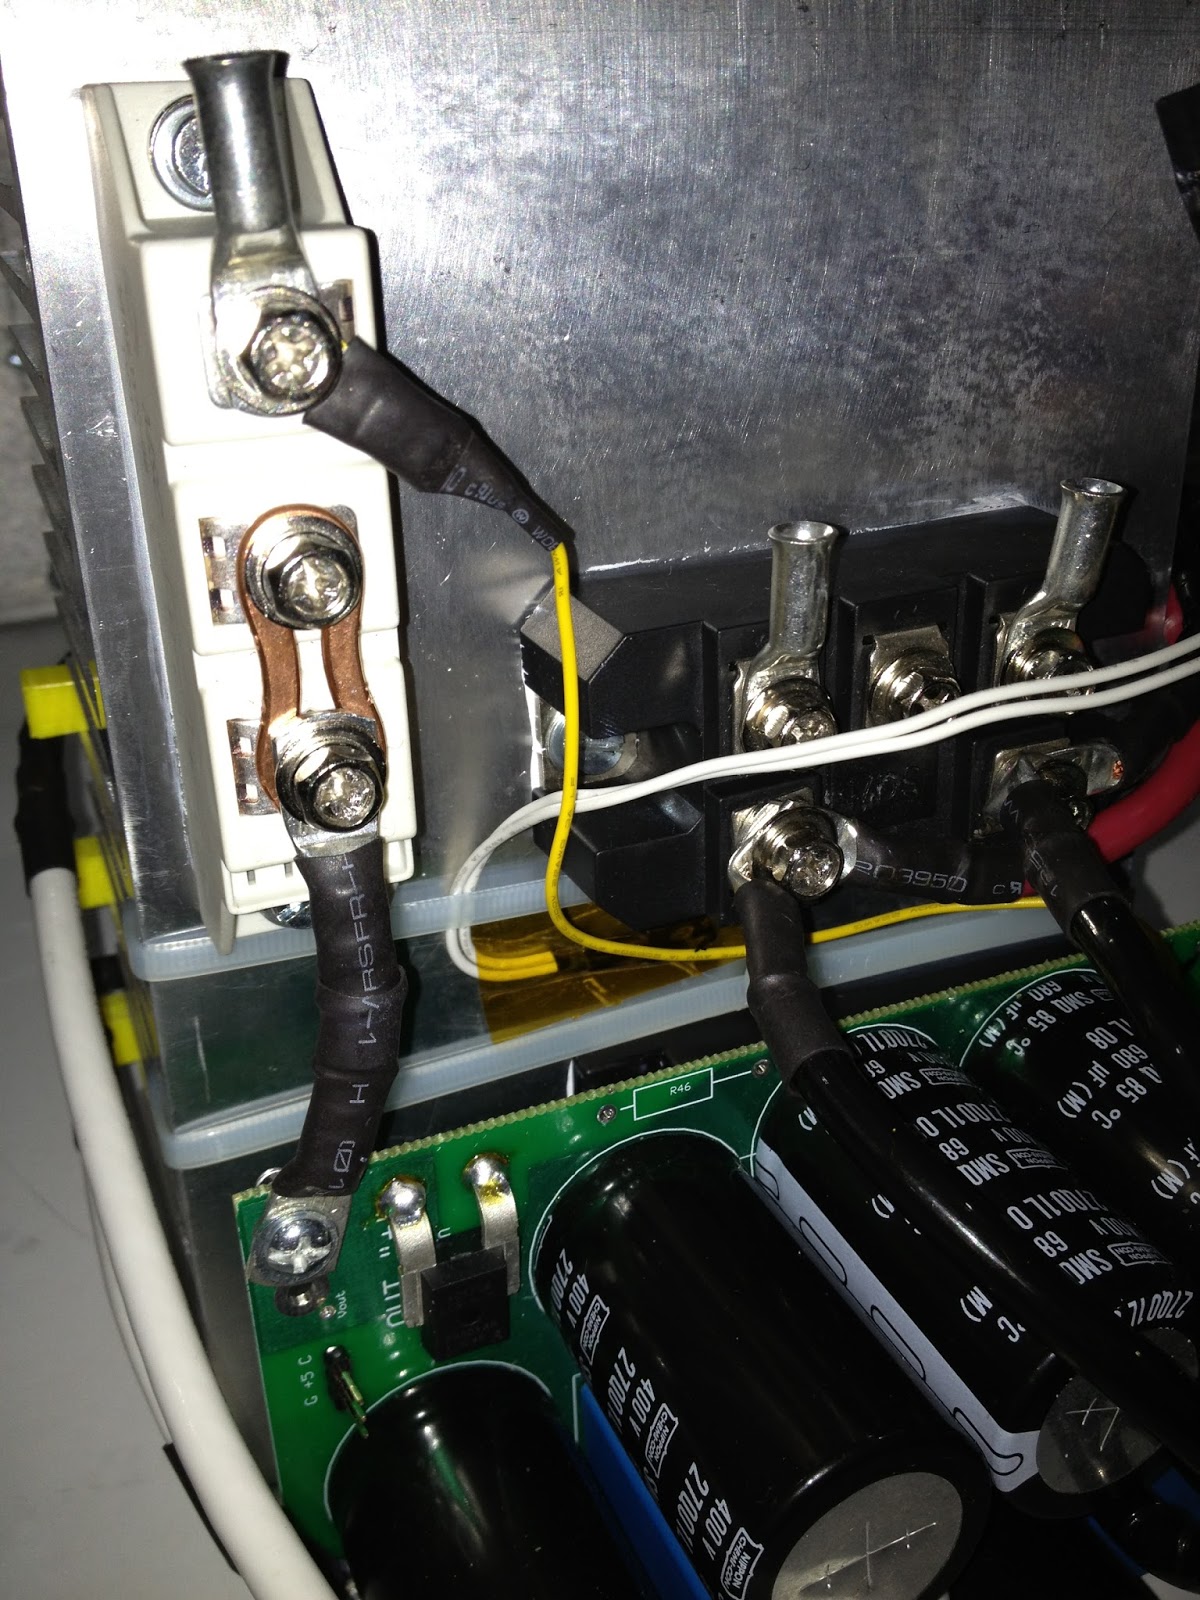
Since my last charger post I have finished the final assembly of the boards and fitted all the heat sink mounted components onto the heat sink with thermal compound, made 3D printed brackets to fit the LCD panel to the lid and hold the lid on the box, drilled several holes in the box to mount it into the car and to mount the heat sink securely inside the box.
I have drilled and fitted the thermistor & wired up most of the low voltage wiring, cleaned (sanded) the whole box on the outside to improve the appearance (slightly) and sanded the lid to a shine as this is the only bit of the charger you will see when it is secured in the car.
Yesterday (Sunday) I fitted all the printed brackets to the lid after drilling out all the button holes for the controller and lined the box with some old corrugated plastic to protect against potential shorts.
AFAIK all that remains to do on the charger is wire the AC input side to the choc-bloc holding the inrush resistors, secure the choc-bloc to the inside of the box somewhere where it will get adequate cooling, drill a shitload of holes both sides of the Ali charger box to allow for inlet and outlet for cooling, fit some fat fans to draw the air through the box, these will probably be external, possibly mounted inside the engine (Motor) bay and will suck air out of the charger and into the exposed engine bay
I also need to wire up the 12V transformer and connect it to the AC input side and to the 12V input on the driver board, secure the 12V transformer into the box (more 3D printed brackets!) drill (more) holes in the box.


No comments:
Post a Comment